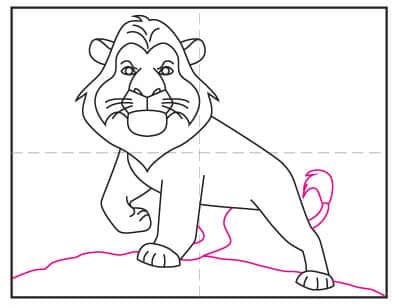
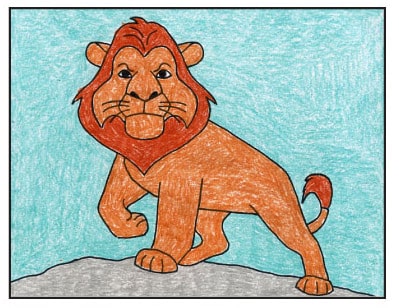
Inside you’ll find an easy, step-by-step how to draw Mufasa lesson video and PDF. Stop your search and grab yours now.
How to Draw Mufasa Art Lesson
When elementary students have learned the basics of drawing animals, like lions, they might be ready for the next step, which is to add more detail.
Generic lions with circle manes are great for beginners, but at some point it’s great to draw more than a version that just sits and has a circle for a mane. This tutorial actually takes quite a few steps forward, with an action pose and more detailed face, but is doable when you have easy step by step instructions to follow.
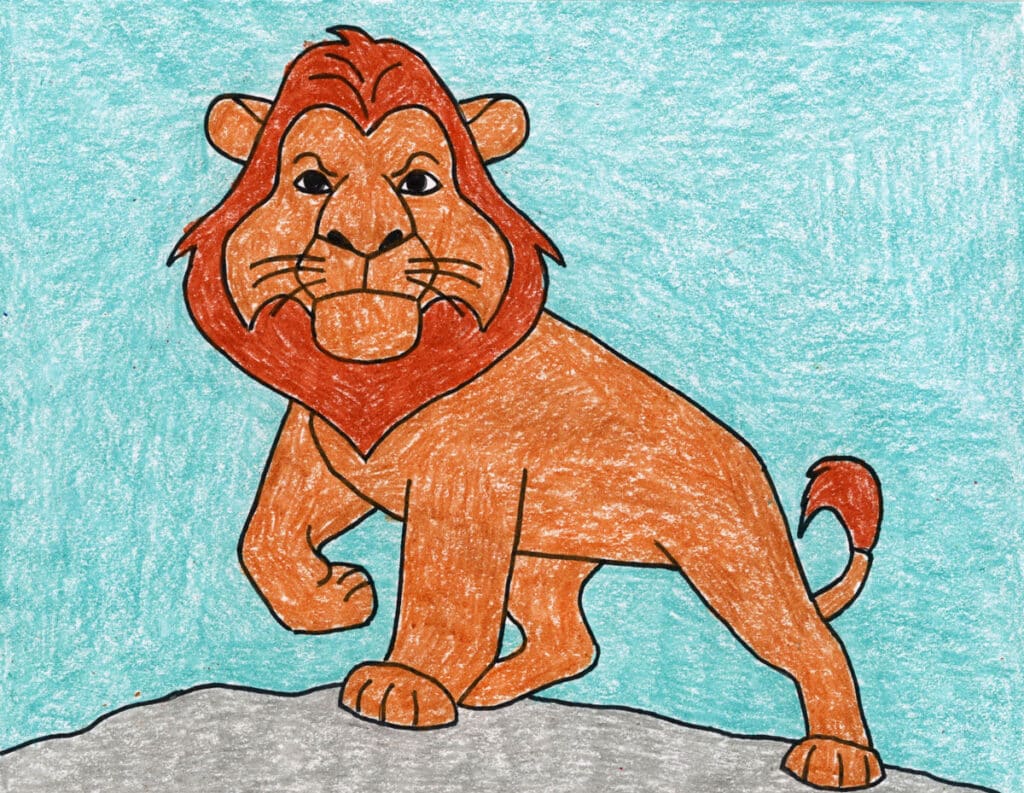
In this case, Mufasa, from the Lion King movie, has a specific lion look that this tutorial simplifies to make it more accessible for older elementary students to draw. The face and mane have much realistic look, but it’s still a symmetrical shape which always makes things much easier to see. The legs are added to a kind of rounded body shape, and bend to also make him look more active.
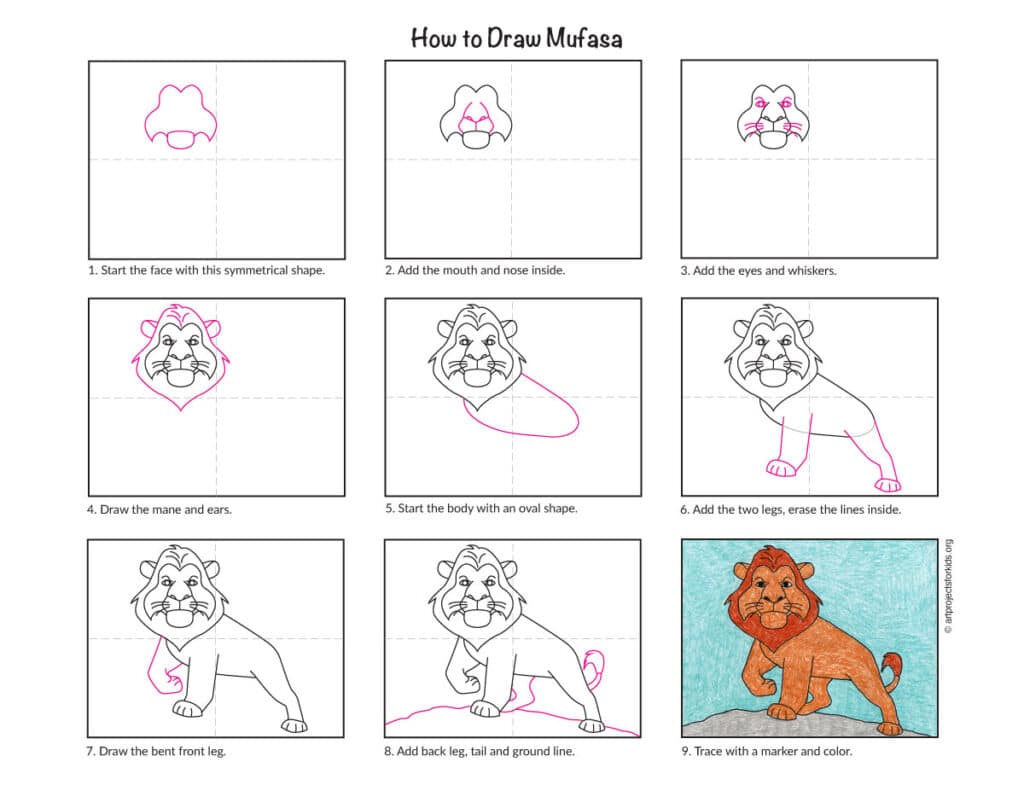
When it comes to teaching tools, do your students respond better to images they can follow themselves? Great, then a PDF tutorial is available to download and print or show on a screen.
On the other hand, maybe videos capture their attention better, and take some of the mystery out of the process. You’ll be happy to know there are links on this page to both a five-ish and a 1 minute video.
Mufasa and the Legacy of The Lion King in Art
The Lion King was released on June 15, 1994 and received much praise for its music, story, themes and animation. It was the highest grossing film of the year.
One way that it impacted the animation process was by pioneering the use of “virtual production” which allowed filmmakers o create a fully computer-generated film with a very realistic, live-action look. It essentially revolutionized how complex animated scenes could be imagined and directed. No doubt the new Mufasa movie will build on this technological progress, which will be fun to see!
Preview of the Mufasa Step by Step Tutorial
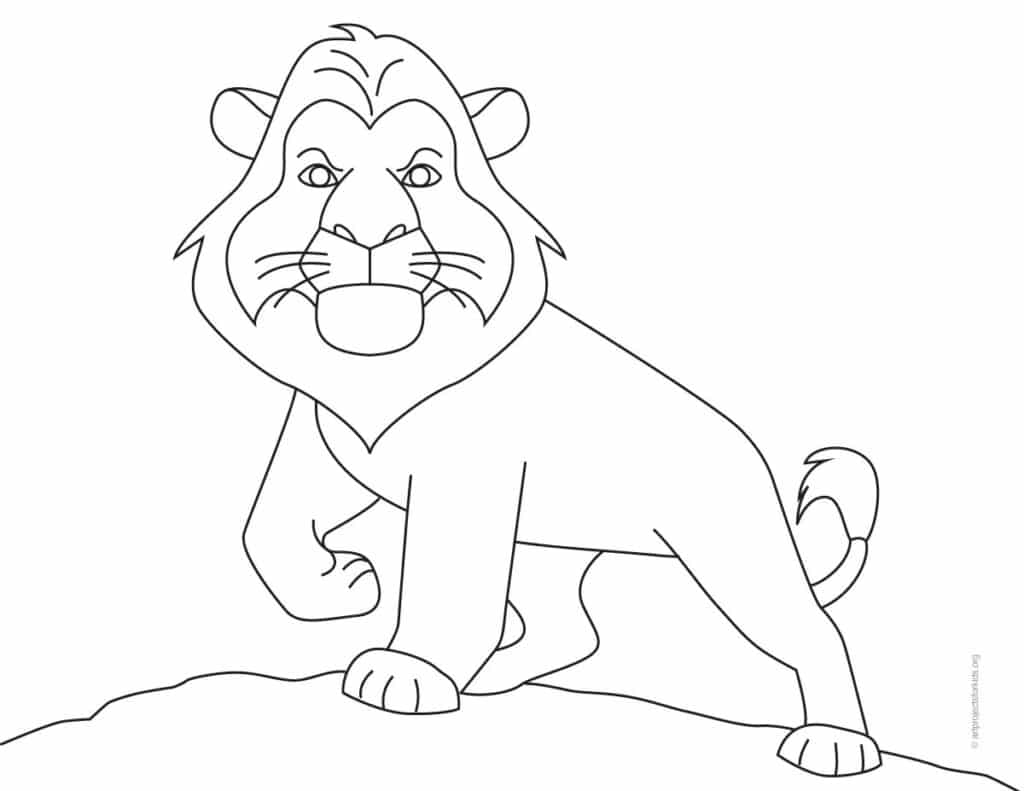
Mufasa Coloring Page
Mufasa Drawing Lesson Materials List
Watch a Short Mufasa Drawing Video
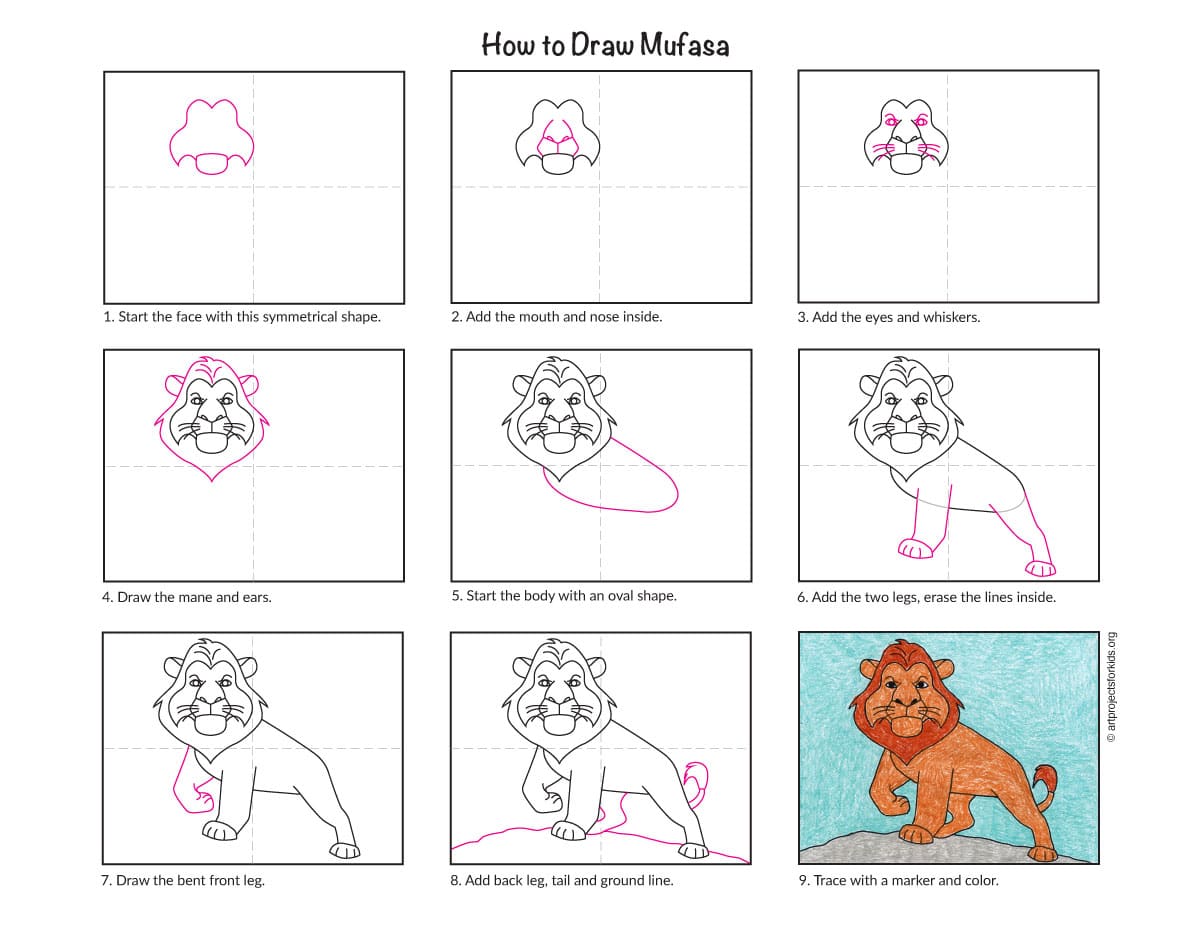
How to Draw Mufasa Step-by-Step Instructions
Time needed: 45 minutes
Draw Mufasa Step by Step
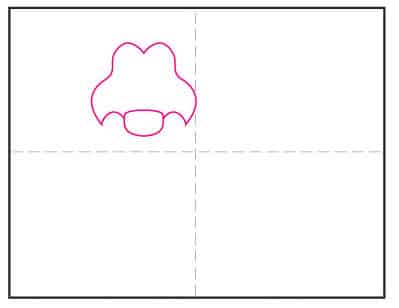
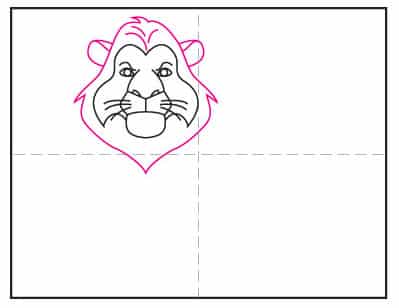
- Start with the chin and then add the face with this symmetrical shape.

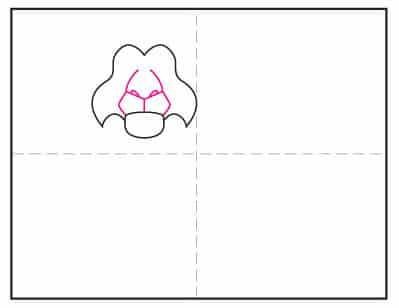
- Add the muzzle and add nose lines above it.

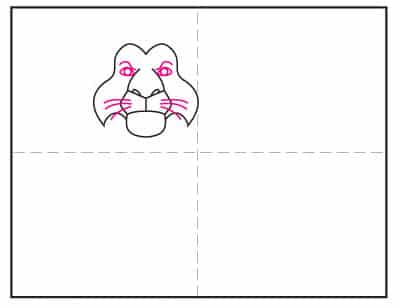
- Add the eyes and whiskers.

- Draw the mane and ears.

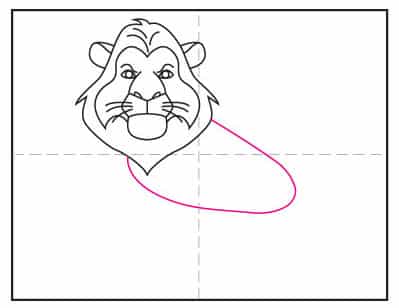
- Start the body with an oval shape.

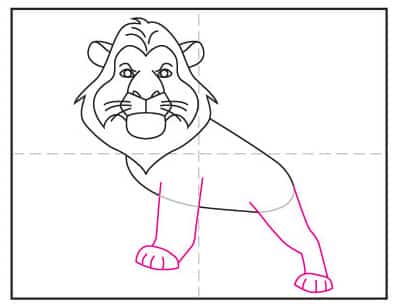
- Add the two legs, erase the lines inside.

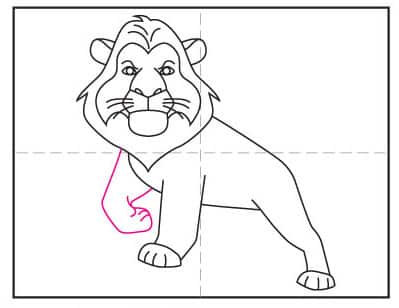
- Draw the bent front leg.

- Add back leg, tail and ground line.

- Trace with a marker and color.

Already subscribed to “The Daily Draw”?
Great, then use the download button below to get your free Mufasa tutorial. And thanks for wanting to bring more step-by-step, no-prep art lessons to your classroom!

