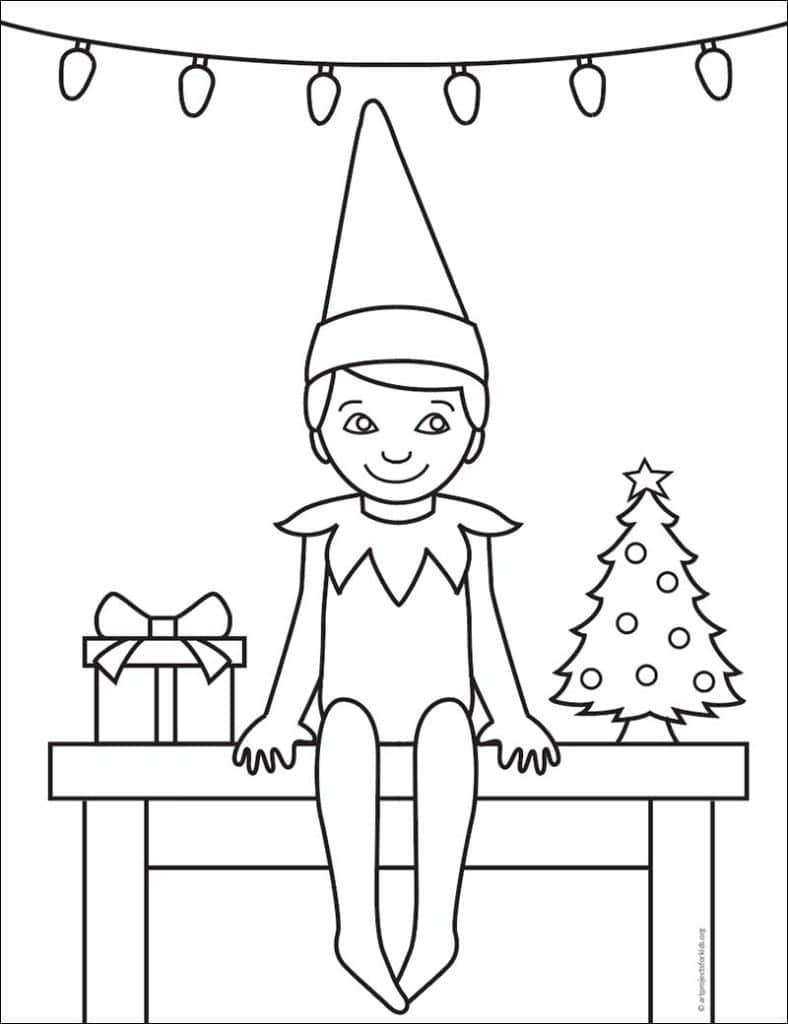
Here you’ll find an easy step-by-step tutorial video for how to draw an Elf on the Shelf. Their simple yet colorful bodies make for some really good drawing practice!
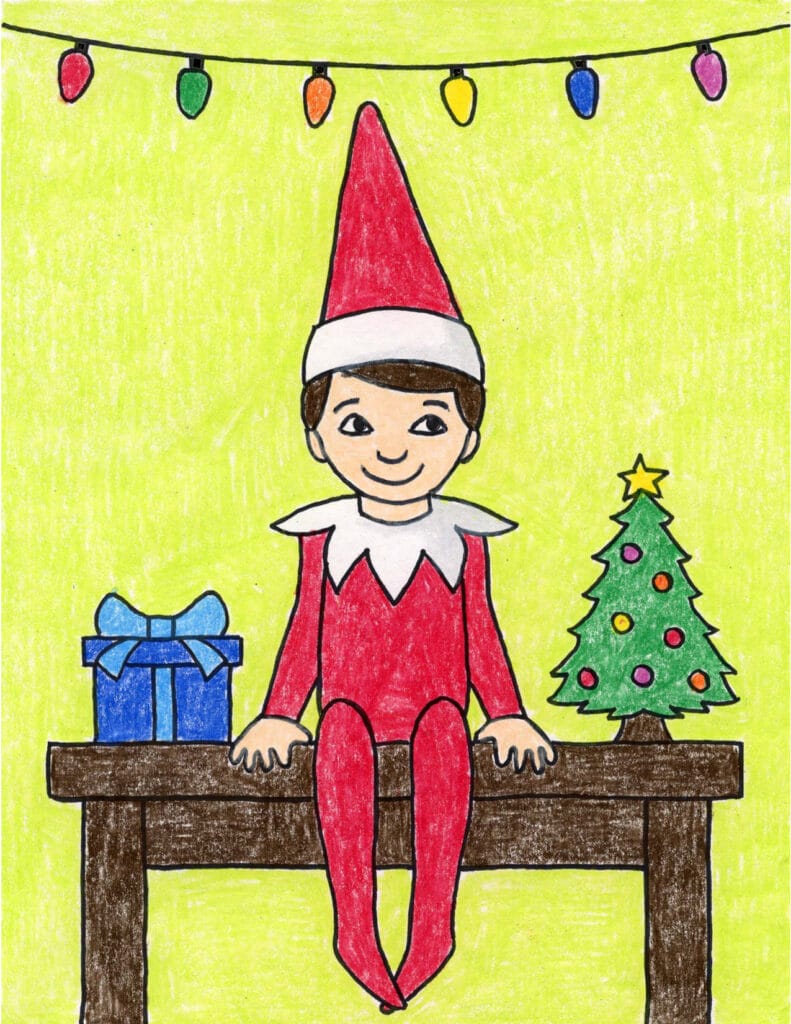
Many children that delight in this tradition will no doubt enjoy learning how to draw an Elf of the Shelf. Luckily, the simple pointed hat, white collar, and solid red bodies offer some good body drawing practice too. When children don’t have to worry about details like belts and stockings and shoes, they can just concentrate on getting those body proportions right, which is 90% of what body drawing is anyway.
Apparently, the Elf on the Shelf tradition started back in 2005 when Carol Aebersold and her daughter Chanda Bell self-published the book “The Elf on the Shelf: A Christmas Tradition” along with a special box with a small Scout Elf inside. This book explained how the elves flew to the North Pole each night and reported their findings to Santa.
Today, teachers all over the world have fun creating pranks that elves seem to have created while left alone in the classroom. Making a mess of papers or making accidental spills, there‘s all kinds of mischief elves can get into when they have a school classroom as their playground.
No matter how elves might play a role in your classroom, imagining them with a secret life will always be fun, and pretty creative too. And once students learn how to draw one, all kinds of pranking possibilities open up!
Use the Button below to grab a PDF Tutorial
Elf on the Shelf Coloring Page
Materials
A fun short video of an Elf on a Shelf drawing
Directions
Time needed: 45 minutes
Elf Drawing Step by Step
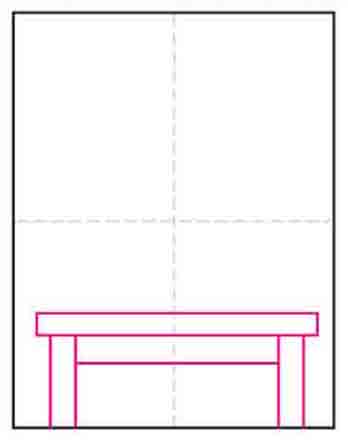
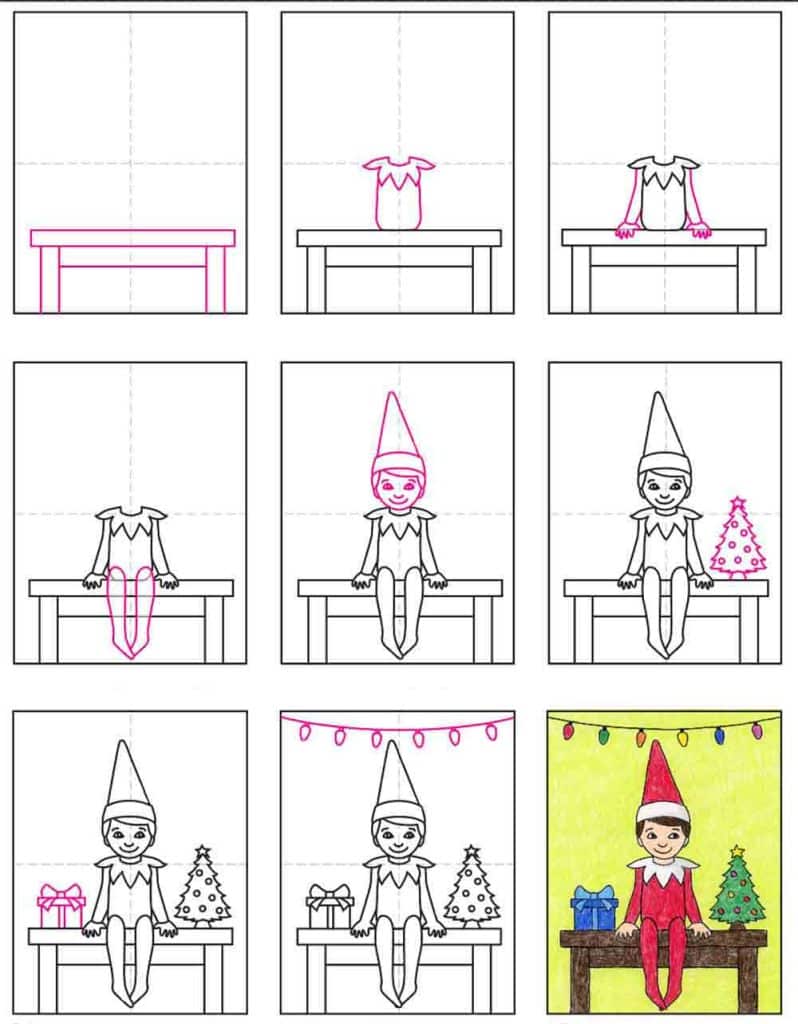
- Step 1. Draw a simple shelf.

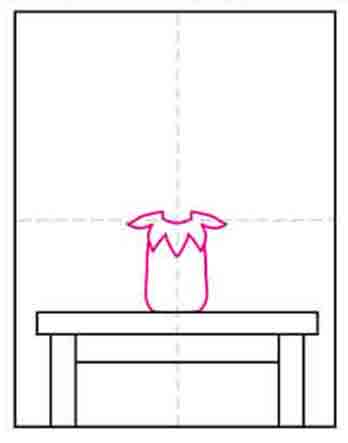
- Step 2. Start the Elf body and collar.

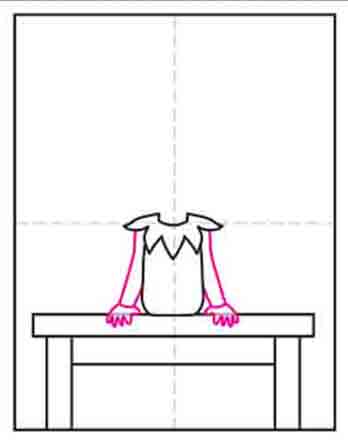
- Step 3. Draw the arms and hands to the sides.

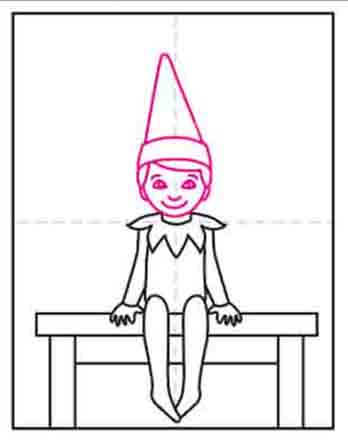
- Step 4. Add the two legs. Erase the gray lines.

- Step 5. Draw the head and pointy hat.

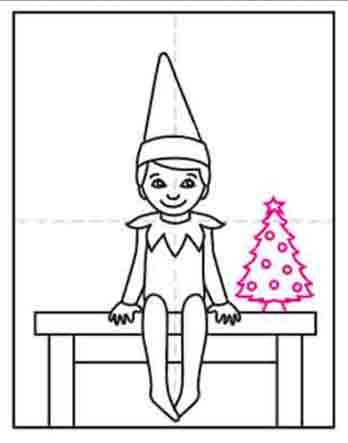
- Step 6. Add a Christmas tree on one side.

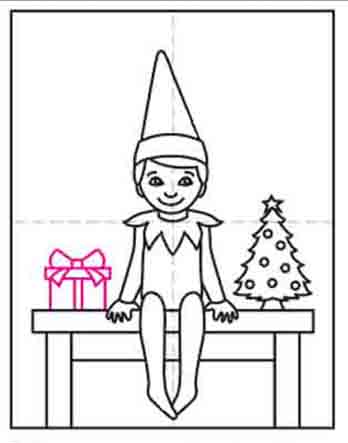
- Step 7. Draw a present on the other side.

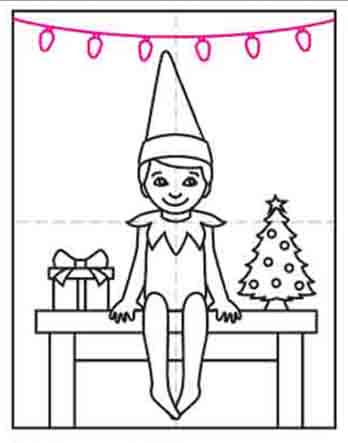
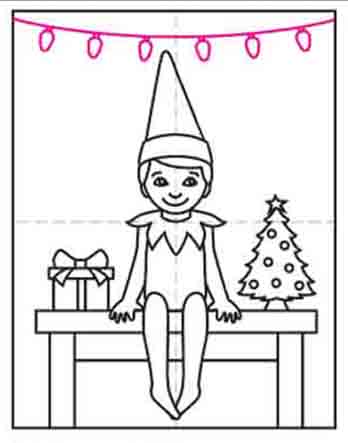
- Step 8. Add a strand of lights near the top.

- Step 9. Trace the drawing with a marker and color.


